Table of Contents
Why the Cam Angle Sensor Matters
Here is the bottom line: the cam angle sensor is the engine's eyes, and when it fails you get misfires, a rough idle, and even stalling. On a Subaru Impreza this sensor reports the camshaft position to the ECU in real time, letting the computer time fuel injection and ignition precisely.
A worn sensor can throw several trouble codes, upset the idle, or kill the engine. The replacement itself is a straightforward job with basic tools, and done correctly it restores performance and clears persistent misfires. To isolate the cause of a warning lamp first, see how the check lamp relates to the cam angle sensor.
- •Precise spark & injection
- •Stable idle
- •Smooth acceleration
- •Trouble codes set
- •Rough idle
- •Stalling & misfires
Tools and Parts to Prepare
Gather everything before you start so the job flows. A torque wrench in particular is essential for controlling the clamping force.
- New cam angle sensor (OEM or high-quality aftermarket)
- Socket set and ratchet (10mm or 12mm depending on the model)
- Torque wrench (to tighten to the manufacturer's spec)
- Clean rags and a small brush (for the mounting surface)
- Electrical contact cleaner (optional but recommended)
- A service manual or reliable online guide for your Impreza year
- •New cam angle sensor
- •Socket/ratchet (10-12mm)
- •Torque wrench
- •Clean rags & brush
- •Electrical contact cleaner
- •Vehicle service manual
- •OBD-II scanner
Step-by-Step DIY Replacement
The job splits into removal and installation, twelve steps in all. Start by disconnecting the negative battery cable to prevent accidental shorts and protect the ECU.
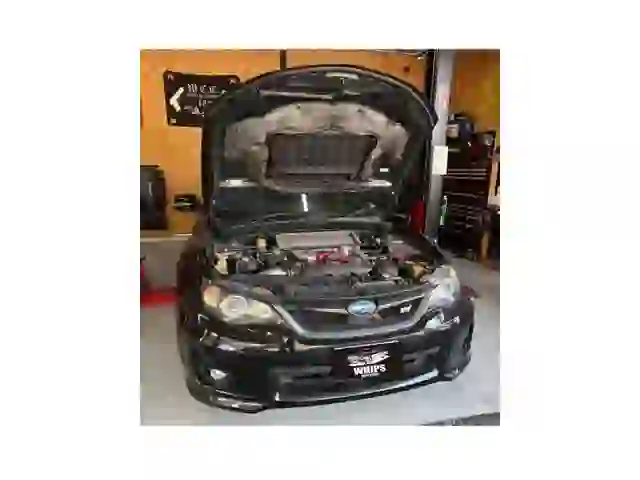
The sensor is a small, round unit with a plug, located ahead of the throttle body (the area some models call "B1"). If the air intake duct covers it, slide or lift the duct out of the way. Loosen the bolt, unplug the harness, wipe old gasket material and debris from the mounting surface, then fit the new sensor.
Always tighten with a torque wrench to the manufacturer's spec (usually 10-12 Nm). Guessing by hand or over-tightening invites trouble.
Finally, clear any stored trouble codes with an OBD-II scanner. The new sensor calibrates during the next warm-up cycle, and a short test drive lets you confirm idle quality and acceleration.
Testing and Final Checks
After the swap, run a quick diagnostic scan. A healthy cam angle sensor reports a steady, clean signal. If codes tied to the cam sensor or engine timing remain, recheck the installation and wiring. A loose connection or misaligned sensor makes the ECU misread the cam position.
- •Steady, clean signal
- •No cam-related codes
- •Smooth driving
- •Erratic signal spikes
- •Cam/timing codes remain
- •Loose or misaligned fit
Common Pitfalls and How to Avoid Them
DIY mistakes tend to be predictable. Knowing them up front saves you a redo.
- Skipping torque control. Under-tightening causes vibration; over-tightening strips the threads.
- Ignoring the gasket. If a gasket is supplied, replace it to keep a proper seal.
- Using the wrong sensor. Match the part number to the vehicle's VIN; a mismatch affects performance.
- Skipping the battery disconnect. Even brief power can damage the ECU or the connector.
- Not clearing codes. Old codes left in memory make a good repair look like a failure.
- •Skipping torque control
- •Reusing the gasket
- •Choosing part without VIN
- •Skipping battery disconnect
- •Tighten to spec
- •Fit the supplied gasket
- •Match part number to VIN
- •Disconnect negative first
For a deeper look at diagnosing the symptoms, the guide on cam angle sensor wear and replacement is a useful companion.
Key Takeaways
Replacing the cam angle sensor is a job most DIYers can handle with basic tools. Follow the flow of remove, clean, install to spec, clear codes, and test drive, and you will restore timing accuracy and clear misfires. A properly installed sensor delivers fuel and spark at the right moments, improving performance and extending engine life.
- •Misfires & rough idle
- •Check lamp on
- •Sluggish acceleration
- •Precise spark & injection
- •Codes cleared
- •Restored performance