Table of Contents
Your brakes are the single most important safety system on your car. Yet most drivers never think about them until something goes wrong — a screeching noise, a shudder through the pedal, or a moment of panic when the car takes longer than expected to stop. Understanding how brakes work and what the warning signs look like can prevent an emergency and save you money in the long run. This guide walks you through the basics, the parts, the wear patterns, and the signals that mean it is time to act.
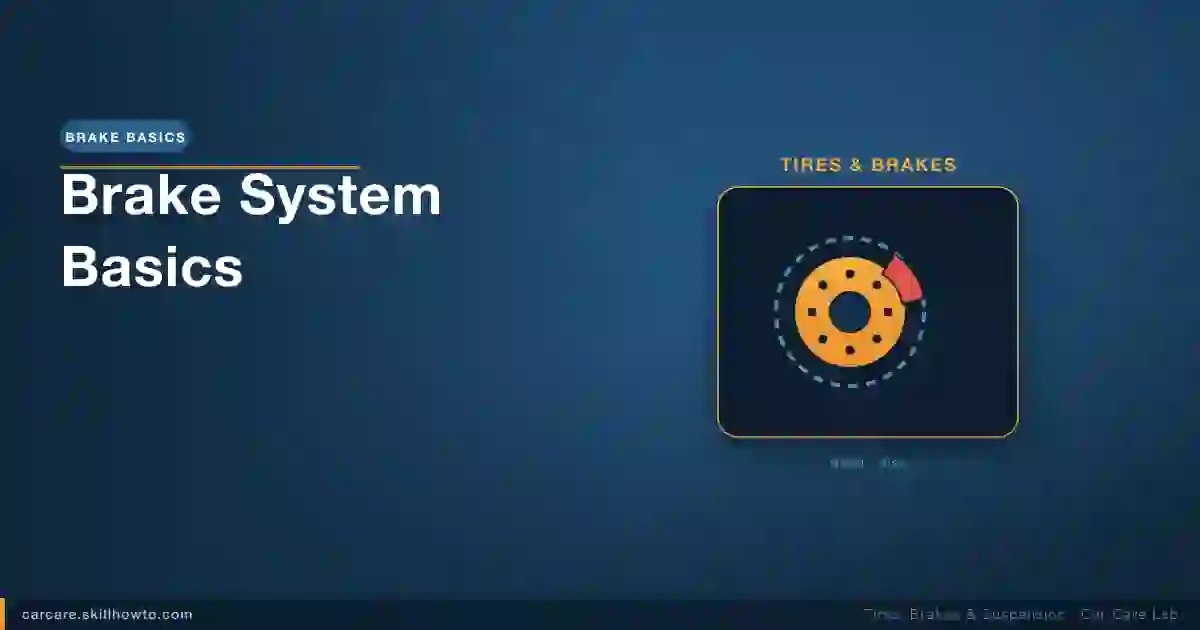
How Braking Actually Works: Pedal to Stop
Every time you press the brake pedal, you are triggering a hydraulic chain reaction. The pedal pushes a piston inside the master cylinder, which forces brake fluid through steel lines to each wheel. That pressurised fluid pushes caliper pistons (on disc brakes) or wheel-cylinder pistons (on drum brakes) outward. Those pistons press friction material — brake pads or brake shoes — against a spinning metal surface, converting the car's kinetic energy into heat and bringing the wheel to a stop.
The key insight is that braking is a heat management problem. Every hard stop dumps enormous energy into the rotors and pads. If the friction material is too thin, if the rotor surface is uneven, or if the brake fluid has absorbed too much moisture, the system cannot do its job safely.
Disc Brakes vs Drum Brakes: What Each One Does
- •Friction surface: flat open rotor
- •Friction material: brake pads
- •Excellent heat dissipation (open air)
- •Very good wet-weather performance
- •Easy inspection through wheel spokes
- •Common on front and all four wheels
- •Friction surface: inside of a drum
- •Friction material: brake shoes
- •Poor heat dissipation (enclosed drum)
- •Average wet-weather performance
- •Requires drum removal to inspect
- •Common on rear of economy cars
Most modern cars use disc brakes on all four wheels, though some economy cars and rear axles still use drums. Here is how they differ:
| Feature | Disc Brakes | Drum Brakes |
|---|---|---|
| Friction surface | Flat rotor (disc) | Inside of a drum |
| Friction material | Brake pads | Brake shoes |
| Heat dissipation | Excellent (open air) | Poor (enclosed) |
| Wet-weather performance | Very good | Average |
| Inspection ease | Easy — visible through wheel spokes | Requires drum removal |
| Common location | Front; often all four wheels | Rear on economy models |
For most daily driving, disc brakes offer better stopping power and easier maintenance. Drum brakes are still common on the rear because the parking-brake mechanism integrates neatly inside the drum.
The Main Parts: Pads, Rotors, Calipers, and Fluid
Brake Pads
Pads are the wear items you will replace most often. A new pad is typically 10–12 mm thick. Most manufacturers recommend inspection below 4–5 mm and replacement at or before 2–3 mm. Many pads include a small metal tab called a wear indicator: when the pad wears down to a minimum safe level, this tab contacts the rotor and produces a high-pitched squeal — a deliberate warning sound.
Rotors (Discs)
The rotor is the large steel disc clamped by the caliper. Rotors wear down with every stop and develop a minimum thickness specification stamped on their edge. Rotors thinner than that spec can crack under heat. They can also develop thickness variation — tiny differences across the rotor surface — which causes a pulsation felt through the brake pedal. Rotors with minor grooves can sometimes be resurfaced; heavily grooved or thin rotors must be replaced.
Calipers
The caliper is the hydraulic clamp that squeezes the pads against the rotor. Caliper pistons can seize — especially on vehicles in humid or salty climates — causing the pad to drag constantly and wear unevenly or overheat.
Brake Fluid
Brake fluid is hygroscopic, meaning it absorbs moisture from the air over time. As moisture content rises, the fluid's boiling point drops. Under hard braking, low-boiling-point fluid can vaporise, creating air bubbles in the lines — a condition called vapour lock that causes a suddenly soft or spongy pedal. Most manufacturers recommend replacing brake fluid every 2–3 years regardless of mileage.
Warning Signs: What Your Brakes Are Telling You
- •Pad thickness: 5 mm or more
- •Rotor surface: smooth, no deep grooves
- •Pedal feel: firm and consistent
- •No unusual noise when braking
- •Fluid level: between MIN and MAX
- •Stops confidently within normal distance
- •Pad thickness: 3 mm or less — replace now
- •Rotor surface: deep grooves or heavy rust lip
- •Pedal feel: soft, spongy, or sinking to floor
- •Squealing (indicator tab) or grinding (metal-on-metal)
- •Fluid level: at or below MIN — check for leak
- •Longer stopping distance or pulling to one side
Brakes communicate clearly when something is wrong. Learn these signals and do not ignore them — catching a problem early is always cheaper and safer than waiting.
| Warning Sign | Likely Cause | Urgency |
|---|---|---|
| High-pitched squeal when braking | Wear-indicator tab touching rotor — pads near end of life | Inspect soon (within a week or two) |
| Grinding or metal-on-metal scraping | Pads fully worn; metal backing plate on rotor | URGENT — stop driving; inspect immediately |
| Vibration or pulsation in the pedal | Warped or uneven rotor (thickness variation) | Inspect soon; rotor resurface or replace |
| Soft, spongy, or low pedal | Air in brake lines, low fluid, or failing master cylinder | Do not drive — bleed or inspect immediately |
| Car pulls to one side when braking | Stuck caliper, uneven pad wear, or contaminated pad | Inspect promptly |
| Longer stopping distance | Worn pads, glazed rotors, or degraded fluid | Inspect soon; very dangerous in emergency stops |
| Burning smell after heavy use | Overheated pads or a dragging caliper | Stop and cool — then inspect |
Grinding is a red-alert signal. The pad material is gone and metal is destroying your rotor with every stop. Driving further risks rotor damage, caliper damage, and most dangerously, complete brake failure. Pull over safely and call for assistance or a tow.
A Quick Brake Self-Check You Can Do at Home
You do not need a lift or special tools for a basic brake inspection. Follow these steps every time you rotate your tires (roughly every 8,000–10,000 km) or whenever you hear or feel something unusual.
- Step 1 — Look at pad thickness through the wheel spokes. On most cars you can see the caliper and the outer brake pad between the spokes without removing the wheel. If the pad material looks thinner than about 3 mm (roughly the thickness of two stacked coins), have it inspected by a shop.
- Step 2 — Inspect the rotor surface. The rotor face should look smooth with only light circular polish marks. Deep grooves, heavy rust ridges at the rotor edge (more than 1 mm), or visible lip at the outer edge indicate significant wear.
- Step 3 — Feel the pedal. In a safe, empty parking lot, press the pedal firmly. It should feel firm and consistent — not soft, spongy, or gradually sinking toward the floor. Any sponginess warrants immediate professional inspection.
- Step 4 — Listen during a slow stop. At low speed in a quiet area, apply the brakes gently. Squealing is a warning; grinding means stop now.
- Step 5 — Check the brake fluid reservoir. Under the hood, the brake fluid reservoir is a translucent plastic container near the firewall. The level should sit between MIN and MAX marks. Very low fluid can indicate a leak or severely worn pads.
DIY vs Professional Help: Knowing Your Limits
- •Always use proper jack stands — never work under a car on a jack alone
- •If you feel uncertain at any step, stop and call a qualified mechanic
- •Brake fluid is toxic — dispose of it at an authorized facility
Brake pad replacement is one of the most accessible DIY jobs for a mechanically inclined beginner — it requires basic hand tools, a C-clamp or caliper piston tool, and a few hours. However, brakes are safety-critical: a mistake can cost a life. Be honest about your skill level.
- Consider DIY if: you are replacing pads on a straightforward disc setup, you have done basic car maintenance before, and you have a safe, level workspace with proper jack stands.
- Go to a professional if: you notice grinding (rotor damage assessment needed), a soft pedal (hydraulic system diagnosis), the car pulls to one side (caliper inspection), or if you are dealing with drum brakes or ABS sensors for the first time.
- Always go to a pro for brake fluid bleeding if you suspect air in the lines — this requires a partner or a vacuum bleeder and knowledge of the bleeding sequence.
Brakes are not the place to cut corners. If you feel uncertain at any step, stop and take the car to a qualified mechanic. The cost of a professional brake service is always less than the cost of an accident — or a ruined rotor caused by waiting too long.
Related reading
This article was prepared by the Car Care Lab editorial team for educational purposes, drawing on widely published service information, manufacturer guidance, and maintenance videos. Intervals, prices, and procedures are representative guides only — always follow your vehicle's owner's manual, and if you are unsure or the job affects safety-critical systems (brakes, steering, high-voltage EV components), have it done by a certified workshop.